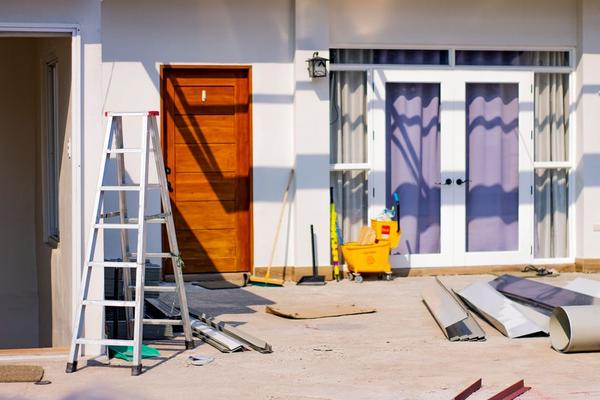
A successful renovation is less about rushing from room to room and more about getting the sequence right. The house renovation order of work matters because one trade often depends on another finishing first. If you decorate before wiring is complete, or fit new floors before heavy building work has ended, you can quickly pay twice for the same area.
The best renovation sequence moves from investigation and structural work through hidden services, wall finishes and finally the details you can see. Every property is different, but the stages below give you a practical framework for planning trades, reducing rework and keeping decisions in the right order.
Start With Surveys, Design and Approvals
Before strip-out begins, establish what you are actually renovating. Check the condition of the roof, walls, floors, drainage, plumbing, heating and electrics, and investigate any signs of damp or structural movement. Older properties may also require specialist checks for hazardous materials before the building fabric is disturbed.
Finalise the proposed layout early, especially if you plan to remove walls, enlarge openings, move bathrooms or change the kitchen position. Structural calculations, local permits, planning requirements and building-control or code approvals should be resolved where applicable before work that depends on them starts. This is also the point to create a realistic schedule and confirm the order of trades with your contractor.
For related planning, useful internal-link topics include home renovation timeline, renovation budget planning and choosing a renovation contractor.
The Typical House Renovation Order of Work
1. Make the Property Safe and Stable
Urgent problems come first. That can mean supporting an unstable structure, repairing dangerous defects, isolating unsafe services or stopping active water ingress. If load-bearing walls, chimneys or major openings are involved, a competent professional should assess the structure before alteration begins.
2. Strip Out What Is Being Replaced
Once the plan is settled, remove old kitchens, bathrooms, unwanted partitions, damaged finishes and other elements scheduled for replacement. Strip-out exposes the real condition of the property, so allow some contingency for hidden defects. Keep anything that must be reused protected and clearly labelled rather than leaving it in active work areas.
3. Complete Structural and Major Building Work
Next comes the heavy construction stage: foundations where needed, structural openings, steelwork, new walls, extensions, major floor repairs and significant roof work. Doing this before detailed finishes prevents vibration, dust and demolition from damaging completed rooms.
4. Get the Building Weather-Tight
Before investing in plaster and joinery, stop the weather getting in. Finish essential roof repairs, external walls, windows and exterior doors so the building is reasonably dry and secure. Moisture problems should be diagnosed and corrected rather than simply covered with fresh finishes.
5. Install First-Fix Services
First fix is the stage when hidden infrastructure goes into walls, floors and ceilings. Electricians run cables and position back boxes; plumbers route supply and waste pipes; heating or ventilation contractors install concealed components and ductwork. This work must happen before surfaces are closed up.
A practical example shows why the order matters. If you plaster a kitchen before confirming the final sink, cooker, lighting and socket positions, trades may have to chase freshly finished walls to move pipes or cables. A one-hour layout review before first fix can prevent days of patching later.
6. Insulate, Close Walls and Plaster
After first-fix work has been checked and any required inspections are complete, insulation, plasterboard or other wall systems can be installed as appropriate. Plastering and surface preparation then create the base for the visible finishes. Build drying time into the schedule rather than pushing decoration onto walls that are still holding excess moisture.
7. Prepare Floors and Fixed Joinery
Subfloors should be made sound, level and suitable for the chosen finish. Depending on the project, this is also when fitted carpentry, stair components, internal doors, skirting, architraves or cabinetry may start to go in. The exact order can vary: for example, some flooring is fitted before kitchens, while floating floors are often installed later around fixed units.
8. Complete Second Fix
Second fix brings the services and fittings to life. Electricians install switches, sockets and light fittings; plumbers connect sanitaryware, taps and radiators; carpenters hang doors and finish trims. Kitchens and bathrooms are usually coordinated closely at this stage because several trades need access in a tight sequence.
9. Decorate and Lay Final Floor Finishes
With dusty and disruptive work largely complete, move into decorating and final finishes. Paint ceilings and walls, complete tiling, and install floor coverings at the point recommended for the chosen material. Protect completed surfaces immediately, particularly if other trades still need to pass through the property.
10. Snag, Test and Hand Over
The last renovation stage is not simply cleaning up. Test systems, check doors and windows, inspect paintwork and sealant, look for leaks, confirm appliances and controls operate correctly, and compile any certificates, warranties and manuals. Record defects in one snagging list and agree who will correct each item and by when.
How to Manage the Order of Trades Without Delays
A renovation schedule should show dependencies, not just dates. The plasterer cannot finish until first fix is complete; the electrician may need kitchen drawings before setting socket positions; the floor installer may need moisture levels or subfloor preparation completed first. Ask each trade what must be ready before they arrive and what work follows them.
Long-lead items can also change the renovation sequence. Windows, bespoke joinery, kitchens, tiles or specialist equipment may need to be ordered well before installation. Confirm dimensions only at the appropriate stage, then track delivery dates so the site does not stall waiting for one missing component.
FAQ
What should happen first in a house renovation?
Start with surveys, design decisions and any necessary approvals, then address safety, structural defects and weatherproofing before cosmetic work. The exact starting point depends on the condition of the property and the scope of the project.
Should plumbing or electrics be done first?
They are normally coordinated during first fix rather than treated as completely separate phases. The correct order depends on the layout, access and how pipes, cables, ventilation and heating routes interact. Good coordination prevents one trade from blocking another.
Does plastering come before second fix?
Usually, yes. Hidden cables and pipework are generally installed during first fix, walls are closed and plastered, and visible items such as sockets, switches, taps and radiators are fitted during second fix.
When should flooring be installed during a renovation?
Final flooring is normally left until major wet, dusty and destructive work is finished, but the precise timing depends on the flooring type and fixed cabinetry. Always follow the installation requirements for the chosen product and protect finished surfaces from later trades.
Plan the Sequence Before the Site Gets Busy
A good house renovation order of work protects completed work from being damaged by jobs that should have happened earlier. Think from structure to services, from hidden work to visible finishes, and from messy tasks to delicate ones. With a clear schedule, confirmed decisions and coordinated trades, the renovation can progress logically instead of repeatedly moving backwards.